- Curved Lithium Polymer battery
- Fast Charge Polymer Battery
- Flexible Polymer Lithium Battery
- Ultra-thin Polymer Battery
/ Blog / Battery Knowledge /
Li-ion Battery Rebuild
07 Jan, 2022
By hoppt

Introduction
A Li-ion battery (abbr. Lithium Ion) is a type of rechargeable battery in which lithium ions move from the negative electrode to the positive electrode during discharge and back when charging.
How does it work?
Li-ion batteries use an intercalated lithium compound as the electrode material, compared to the metallic lithium used in the non-rechargeable lithium battery. The electrolyte, which allows for ionic movement, and the separator, which prevents short circuits, are also typically made of lithium compounds.
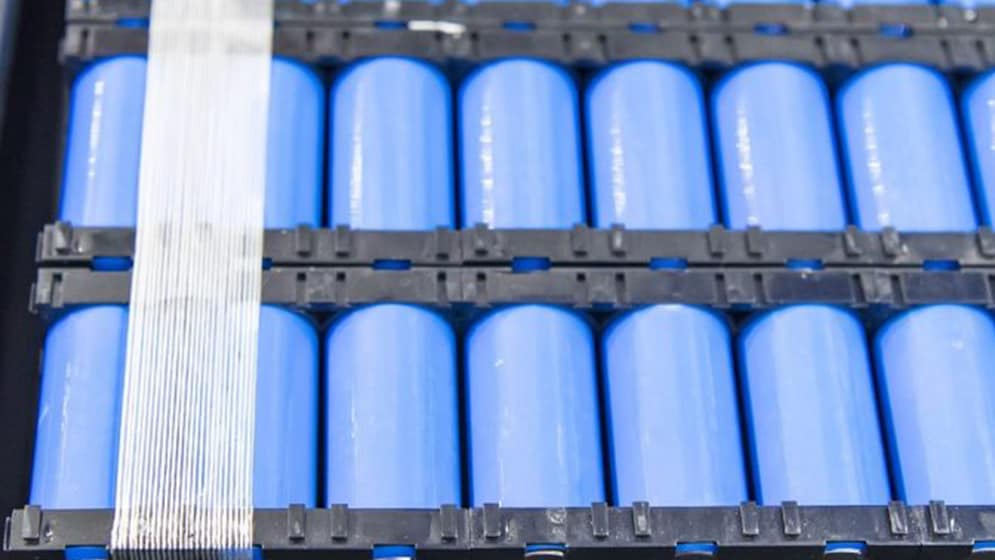
The two electrodes are placed apart from each other, generally rolled up (for cylindrical cells), or stacked (for rectangular or prismatic cells). The lithium ions move from the negative electrode to the positive electrode during discharge, and back when charging.
How Do You Rejuvenate a Li-ion Battery?
Step 1
Remove your batteries from the camera. Unhook the terminals by either unscrewing them or just pulling on them firmly. Sometimes they may be secured in place with some adhesive (hot glue). You'll need to peel off any labels or covering to locate the hookup points for the battery connections.
The Negative Terminal is typically hooked via a metal ring, and the Positive terminal is hooked by a raised bump.
Step 2
Plugin your battery charger into an AC outlet, matching the voltage of your battery with the corresponding setting on your charger. For most Sony NP-FW50 batteries it is 7.2 volts. Then hook up the positive connection to the pole with the raised bump. Then hook up the negative terminal to the metal ring.
Some chargers have dedicated buttons for each battery set, if you don't just use the voltage setting that matches closest to your battery voltage. The current being supplied will be indicated on your charger's display, or with an LED light (if it decides not to cooperate you can always just estimate how much current it's delivering based on the voltage).
Step 3
You'll need to monitor your battery as it charges. After about 15 minutes you should notice that it has begun to heat up. Let the charge continue for another hour or so. Depending on which charger you have, a flashing light, a beeping sound, or simply when the charge cycle is complete will let you know when it's ready. If for some reason your charger doesn't have a built-in indicator, you'll want to pay attention to the battery itself. It should be slightly warm but not scalding hot to the touch after about 15 minutes of charging, and noticeably so after about an hour.
Step 4
Once charged, your battery is ready to go! Now you can hook up your terminals back to your camera. You can either solder or use conductive glue (like the kind used in RC vehicles). Make sure they are hooked securely in place.
After that, just pop it back into your camera and fire away!
Where Can You Find Li-ion Battery Rebuild Services?
- Online Auctions
- I've seen countless listings on eBay for people offering to rebuild your li-ion batteries. Some even claim that it will last longer since they are using higher quality cells, but there is no way of telling if their claims are true or not. Do yourself a favor and avoid these services! With the abundance of cheap Sony batteries on eBay, there is absolutely no reason why you should be paying someone else to rebuild your batteries.
- Camera Repair Shops
- Some camera repair shops offer battery rebuilding services. It's pretty straightforward, just bring in your old batteries and pick up your repaired ones a few days later. This is the safest option, but keep in mind that it can be time-consuming to find a shop that does this locally. If you are lucky enough to have one in your area, then it's your best choice.
- Personal Rebuilds
- The cheapest and easiest option is to go this route, but just like online auctions, there is no guarantee that the quality will be good enough for optimal battery performance. If you are comfortable with soldering, or even if you aren't, you can always buy an inexpensive battery rebuild kit and attempt a do-it-yourself rebuild.
Conclusion
Rebuilding a li-ion battery is a simple process. It's not recommended to do it unless you have experience working with electronics, but if you think you can handle the task then go ahead and give it a try!


